Crafting Immersive Visualizations: A Guide to Creating 3D Maps in Google Earth
Related Articles: Crafting Immersive Visualizations: A Guide to Creating 3D Maps in Google Earth
Introduction
In this auspicious occasion, we are delighted to delve into the intriguing topic related to Crafting Immersive Visualizations: A Guide to Creating 3D Maps in Google Earth. Let’s weave interesting information and offer fresh perspectives to the readers.
Table of Content
Crafting Immersive Visualizations: A Guide to Creating 3D Maps in Google Earth
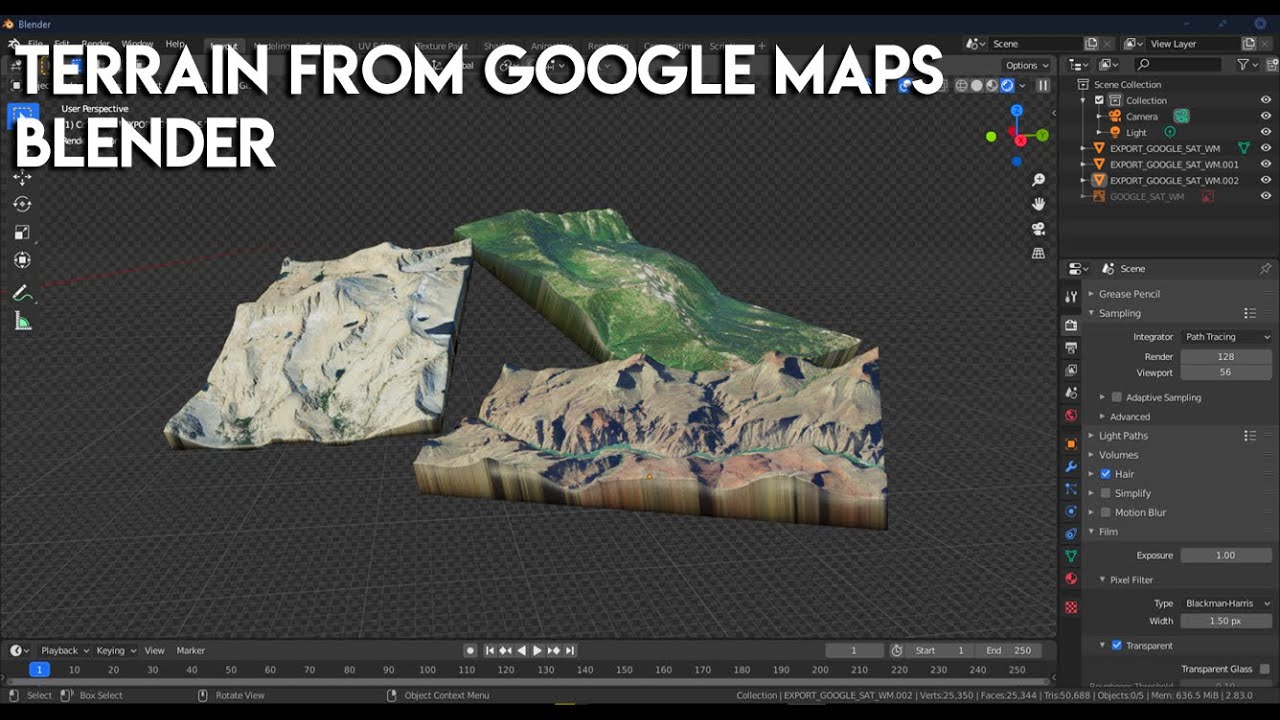
Google Earth, a powerful tool for exploring the world, offers the capability to create compelling 3D maps that bring geographic information to life. This guide provides a comprehensive overview of the process, delving into the nuances of creating and enhancing 3D models within the platform.
Understanding the Power of 3D Maps
3D maps transcend the limitations of traditional 2D representations, offering a richer and more engaging experience. They provide a virtual window into the world, allowing users to:
- Experience the world from new perspectives: Explore landscapes, buildings, and even underwater environments with unprecedented depth and detail.
- Enhance spatial understanding: Gain a clearer grasp of geographical relationships, distances, and elevations by interacting with a three-dimensional representation.
- Communicate complex information effectively: Visualize data sets, such as population density, environmental changes, or infrastructure projects, in an intuitive and impactful manner.
- Promote collaboration and exploration: Share interactive 3D models with colleagues, students, or the public, fostering a deeper understanding and engagement with geographic data.
The Tools of the Trade: Navigating Google Earth’s Features
Google Earth provides a suite of tools specifically designed for creating and manipulating 3D models:
- 3D Modeling: Utilize the "3D Models" feature to import and place 3D models within the Google Earth environment. Models can be imported in various formats, including 3DS, OBJ, KMZ, and others.
- Placemarks: Create and customize placemarks, which can be used to mark specific locations and attach information such as descriptions, images, and even 3D models.
- Paths and Tours: Define paths and create virtual tours that guide users through a sequence of locations or points of interest, enhancing the narrative aspect of your 3D map.
- Layers and Styles: Control the visibility and appearance of various elements within your 3D map, including terrain, roads, buildings, and custom models. This allows for tailored visualizations based on specific needs.
- Collaboration and Sharing: Share your 3D maps with others via Google Earth’s built-in sharing features or export them in various formats, including KMZ and KML, for wider distribution.
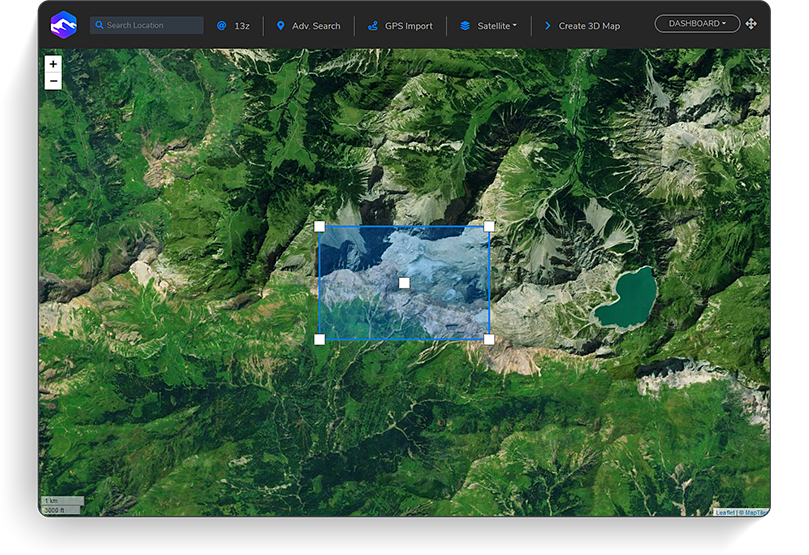
Building a 3D Map: A Step-by-Step Guide
The process of creating a 3D map in Google Earth involves several key steps:
- Define the Scope and Purpose: Clearly outline the objective of your 3D map. What geographic area will it cover? What information will it convey? What audience will it target?
-
Gather and Prepare Data: Identify and acquire the necessary data for your map. This could include:
- 3D Models: Source appropriate models from online repositories, create them using 3D modeling software, or utilize Google Earth’s built-in 3D models for landmarks and buildings.
- Geographic Data: Use satellite imagery, elevation data, or other relevant geographic information to provide context and realism to your map.
- Additional Information: Collect relevant text, images, or multimedia content to enhance the map’s narrative and engagement.
- Import and Position Models: Import your 3D models into Google Earth using the "3D Models" feature. Scale and position them accurately within the desired location.
-
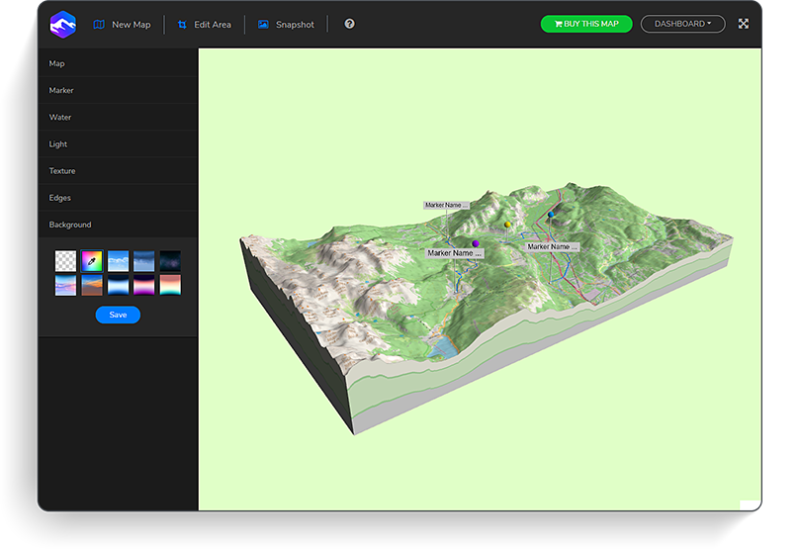
Customize and Enhance: Use the various tools and features within Google Earth to customize the appearance and functionality of your 3D map:
- Placemarks: Add placemarks to highlight specific locations and attach relevant information.
- Paths and Tours: Create paths and tours to guide users through key areas and points of interest.
- Layers and Styles: Control the visibility and appearance of different elements to enhance clarity and focus.
- Refine and Test: Carefully review and refine your 3D map, ensuring accuracy, visual coherence, and intuitive navigation. Conduct testing to ensure smooth functionality and a seamless user experience.
- Share and Publish: Share your 3D map with others using Google Earth’s sharing features or export it in various formats for wider distribution.
Beyond the Basics: Advanced Techniques
For those seeking to elevate their 3D map creation skills, explore these advanced techniques:
- Customizing Models: Utilize 3D modeling software to create custom models, allowing for greater control over design, detail, and texture.
- Creating Animations: Develop dynamic animations within your 3D map to showcase specific processes, events, or changes over time.
- Integrating Data Visualizations: Combine 3D models with data visualizations, such as charts, graphs, or heatmaps, to represent complex information in a visually compelling way.
- Developing Interactive Experiences: Utilize scripting and programming techniques to create interactive elements within your 3D map, allowing users to engage with the content in a more dynamic and engaging way.
FAQs: Addressing Common Queries
Q: What are the best software options for creating 3D models for Google Earth?
A: While Google Earth offers basic 3D modeling capabilities, dedicated 3D modeling software like Blender, SketchUp, or 3ds Max provide greater flexibility and control over model creation.
Q: What are the most common file formats for importing 3D models into Google Earth?
A: Common formats include 3DS, OBJ, KMZ, and KML. Ensure the models are properly formatted and scaled for optimal performance within Google Earth.
Q: How can I create realistic textures for my 3D models?
A: Utilize photorealistic textures created using image editing software or source high-resolution textures from online repositories.
Q: What are some tips for creating effective 3D maps?
A: Consider these tips:
- Focus on Clarity: Prioritize a clear and uncluttered visual design, ensuring that key information is easily accessible.
- Optimize for Performance: Minimize the size of your 3D models and textures to ensure smooth loading times and performance.
- Emphasize User Experience: Design your 3D map with intuitive navigation and a seamless user experience, ensuring that users can easily explore and understand the information presented.
Conclusion: The Versatility of 3D Maps in Google Earth
The ability to create 3D maps in Google Earth opens up a world of possibilities for visualizing and communicating geographic information. From showcasing urban development projects to illustrating environmental changes, these immersive visualizations empower users to explore and understand the world in new and engaging ways. By mastering the tools and techniques outlined in this guide, individuals can harness the power of 3D maps to create compelling, informative, and impactful experiences.


Closure
Thus, we hope this article has provided valuable insights into Crafting Immersive Visualizations: A Guide to Creating 3D Maps in Google Earth. We hope you find this article informative and beneficial. See you in our next article!